Keep your cap and gown pictures simple with this list of 16 poses for graduation pictures. Some poses shown on this list are formal. Other poses take on an informal dynamic character that captures the joy and excitement of graduating.
A benefit of hiring a professional photographer is that they will lead you through your graduation picture poses while finding the most flattering light to photograph in. If you can hire a professional – do it, you won’t be disappointed. If you are not able to hire a photographer, I am happy to share this list of poses I use throughout my cap and gown sessions to help you look your best. These poses work great for college grads or high school seniors.
16 Poses for Graduation Pictures
-
Standing Ankle Cross

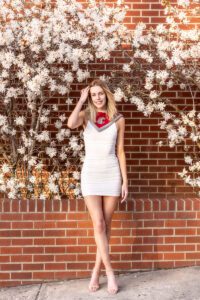

Steps.
- Face the camera straight on or with toes pointed 45° away from camera.
- After that, cross your legs at the ankles.
- Vary placing your weight on the front or back leg. You can place your hands on hips, lower back, thighs or a combination of those locations.
-
Glance Back


Steps.
- Face 180 degrees away from the camera.
- After that, toss your gown over a shoulder.
- Have someone hand you your sash so it lies properly over the gown from your back side.
- Once positioned, rotate from the hips up, look back towards the camera.
- Variation: Place your cap in the opposite hand from your gown, put your cap high up in the air and look back at the camera over the gowned shoulder.
-
Flag Dance
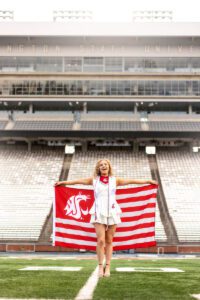

Steps.
- Hold the tips of flag behind your back like drying off with a towel.
- Vary movements (dance) to make the flag move. Movements could include doing the wave with your arms while allowing the flag to be pulled tight and drape.
- Another move is to spin with the flag making sure to give glances to the camera
- Another variation is to drape the flag over your shoulder and look back at the camera
-
50 Yard Line
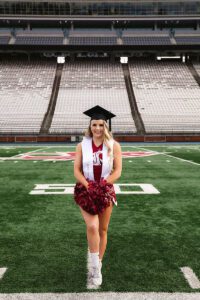
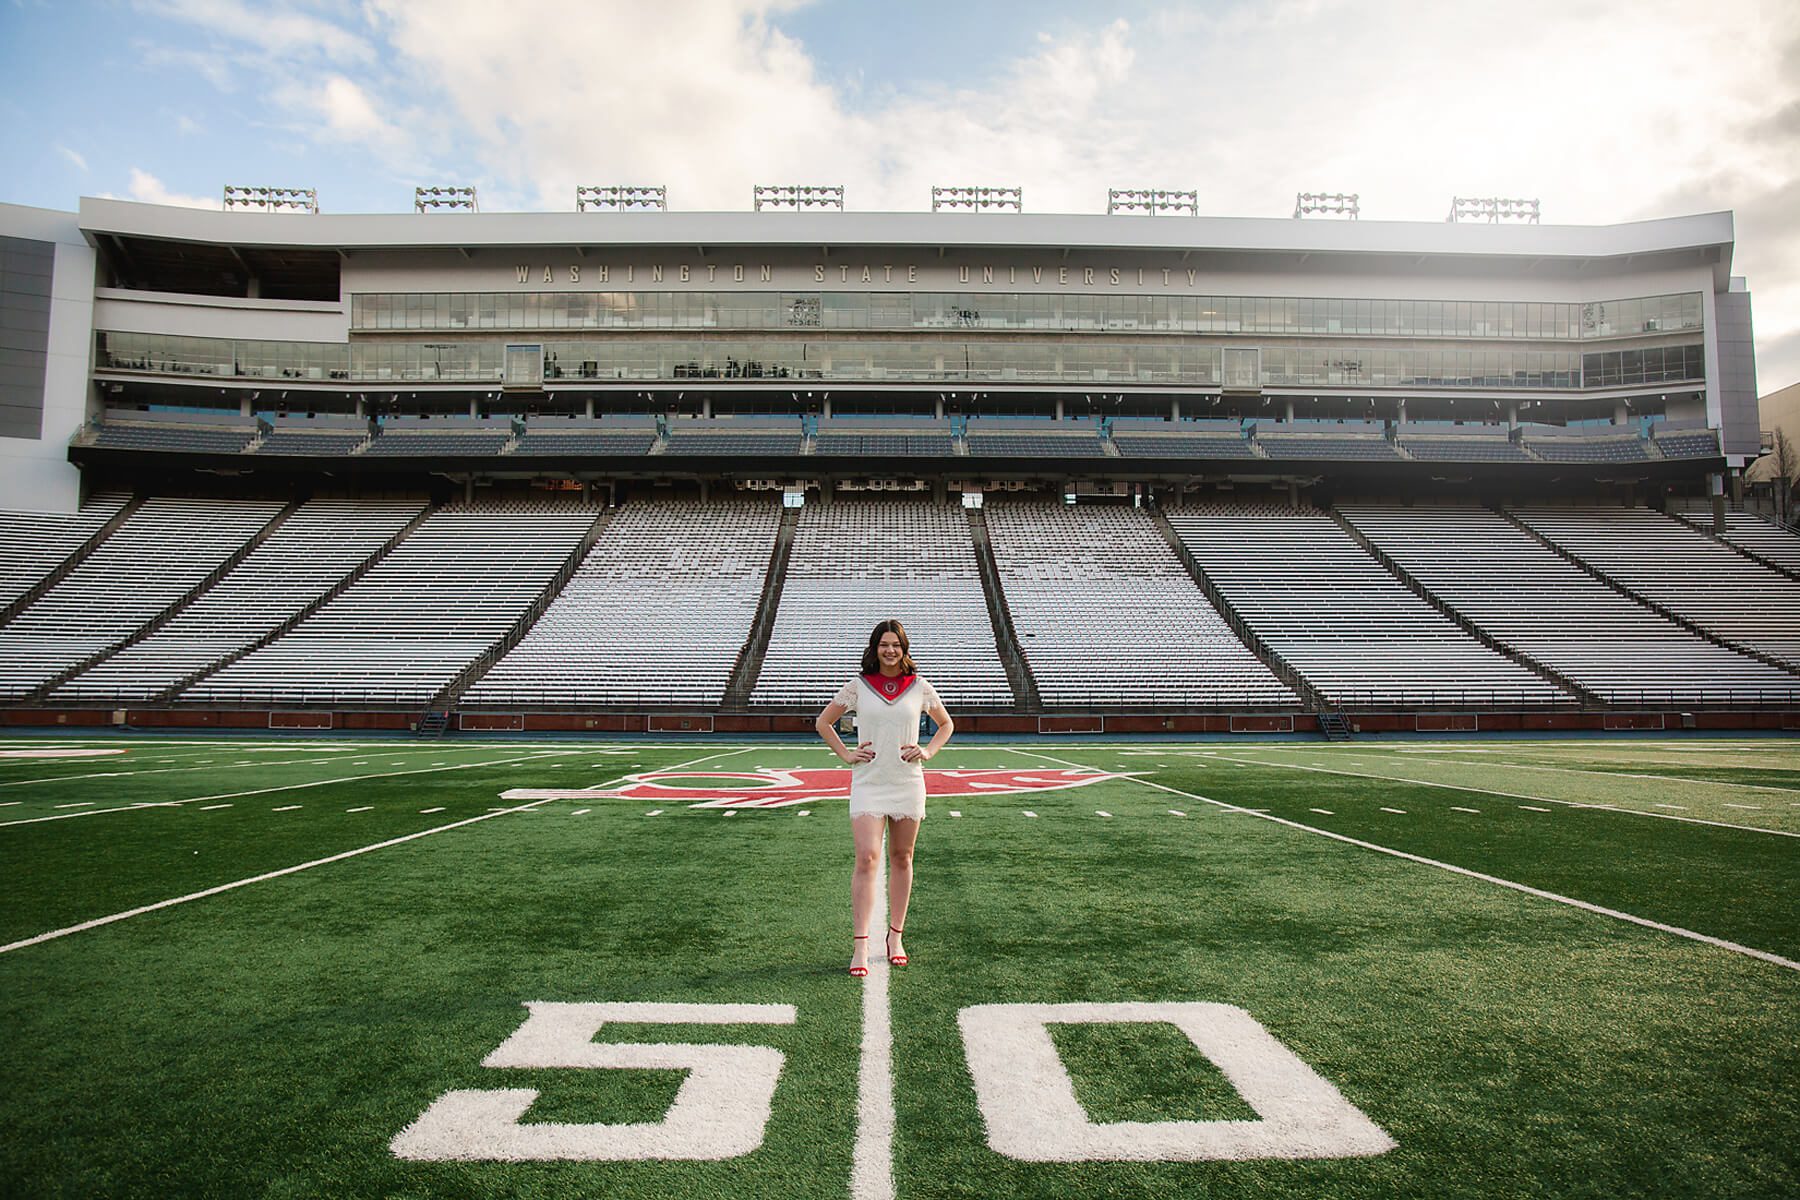
Steps.
- 50 yard line photos may use a huge variation of poses but the important thing is to make sure the white line is broken by the subject either at their feet or knees – no higher. An alternative would be to crop the image at the torso.
- Try the standing ankle cross, flag dance, glance back, leg lift or jump
-
I did it! Fist in the air
This photo looks best cropped from the torso to extended arm.

Steps.
- Face away from camera in a location where the photo background will exemplify school pride.
- After that, place one fist in the air with full arm extension – no halfhearted fists in the air.
- For a second look, look back over the shoulder that is not in the air and smile or give a shout at the camera.
-
Cap and Shoes
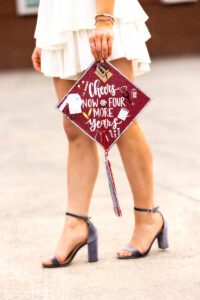
Steps.
- Facing 90 degrees away from camera take a step forward. Pause mid-step while the back toe is still on the ground.
- While legs are positioned, hold the cap from the top tip and making sure the top of the cap is facing the camera.
- Check the tassel to make sure any charms are facing the right direction as well.
-
Lean on Handrail

Steps.
- Find a railing, partial wall or barrier or lean on.
- For lower railings, rest your hand on the rail while facing the camera straight on.
- For higher railings, place an elbow on the rail. Try facing the camera straight on or pointing toes towards the rail and looking back towards the camera.
- After that pose with elbow on rail, try a variation by resting your opposite hand on top of your wrist.
-
Stadium Seat Sit
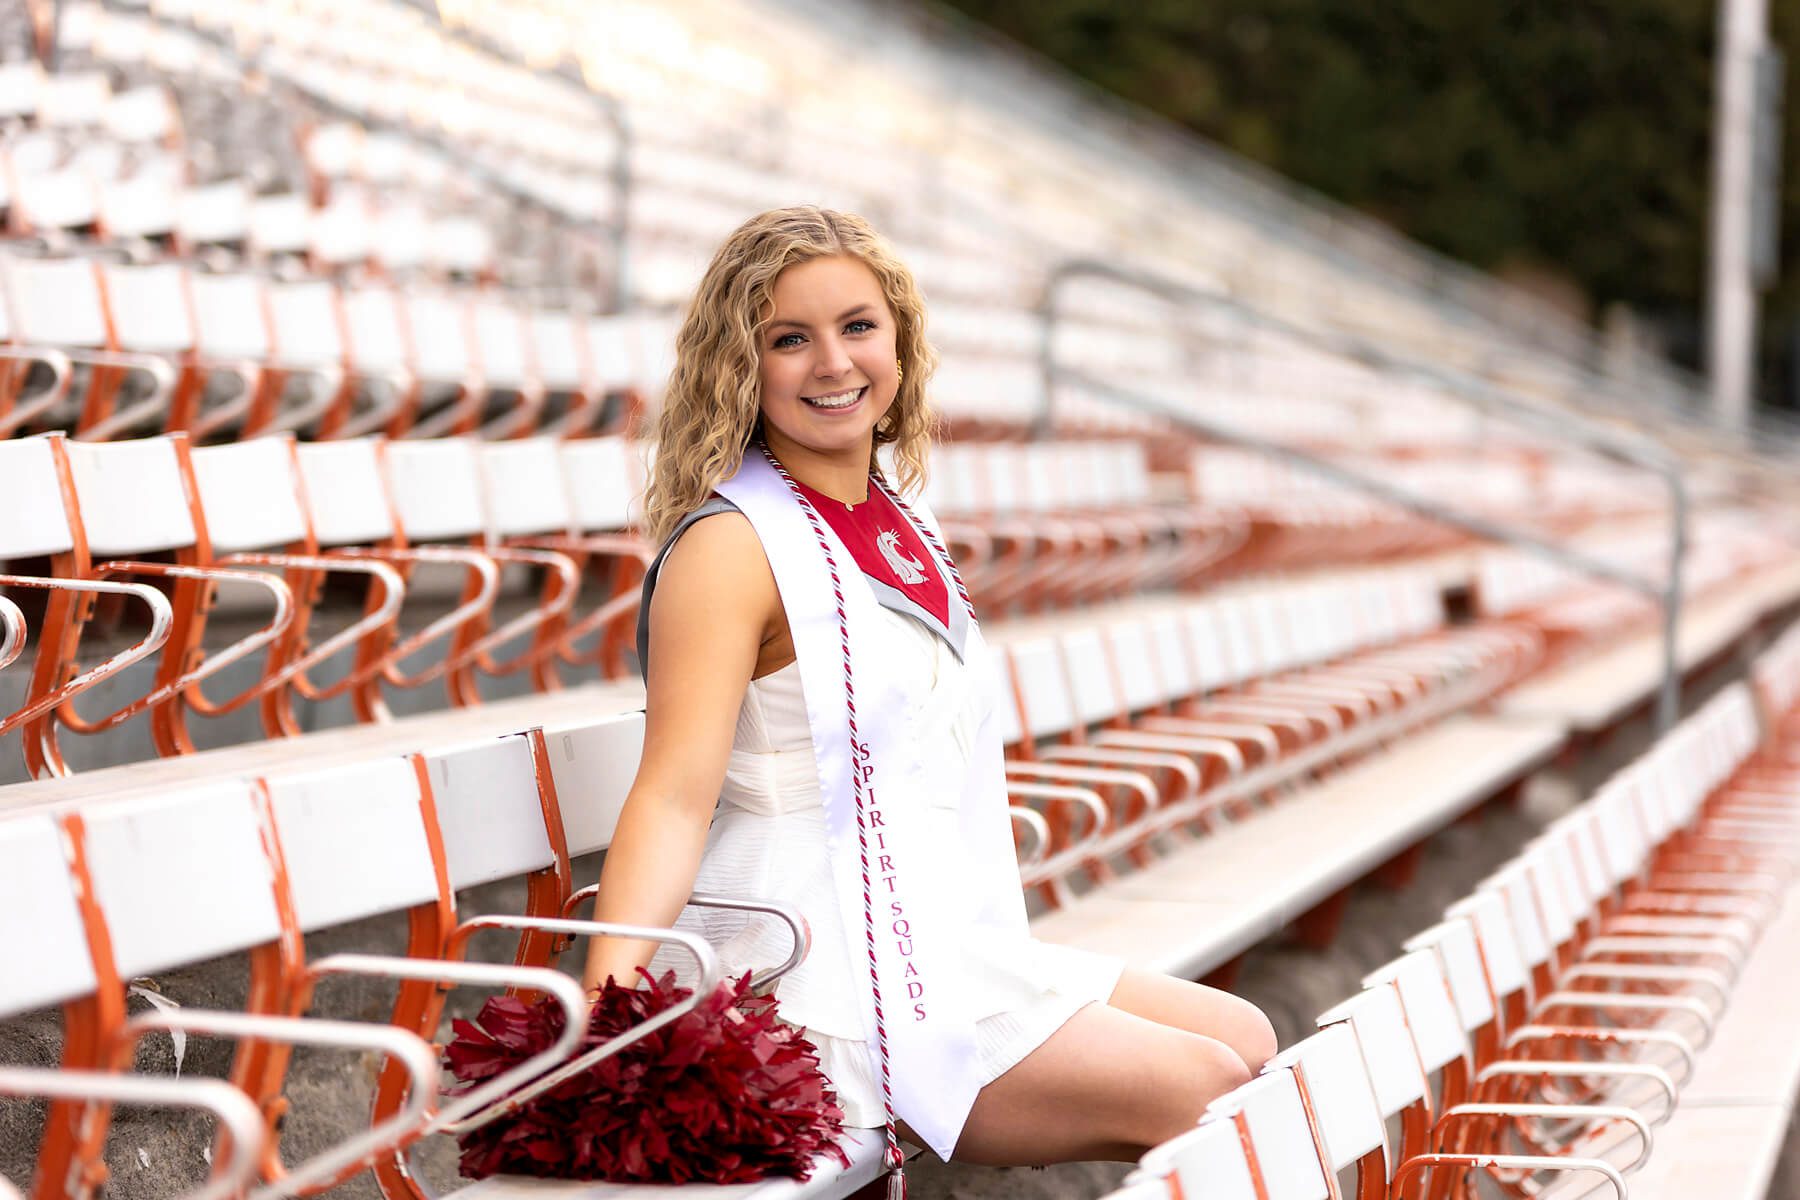
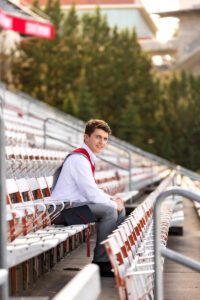
Steps.
- Find a stadium seat or bench at one end or the other of the stadium so that the other seats fade away behind you.
- Place bottom towards the front of the seat to encourage good posture. Note: sitting all the way back in a seat usually leads to slouching which does not look great in photos.
- Rest hand or arm on hand rest if there is one. If not, use your leading arm to reach out slightly toward the camera while keeping comfortable.
- For legs, you can cross legs at the knee or the ankle. Guys may wish to keep their legs uncrossed and lean an elbow on one knee or rest hands in lap.
-
End Zone Jump
To be most successful, the end zone jump requires a bit of testing using the camera lens you have available.
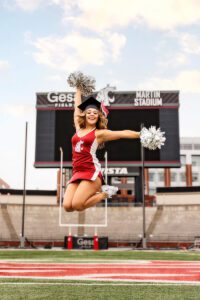
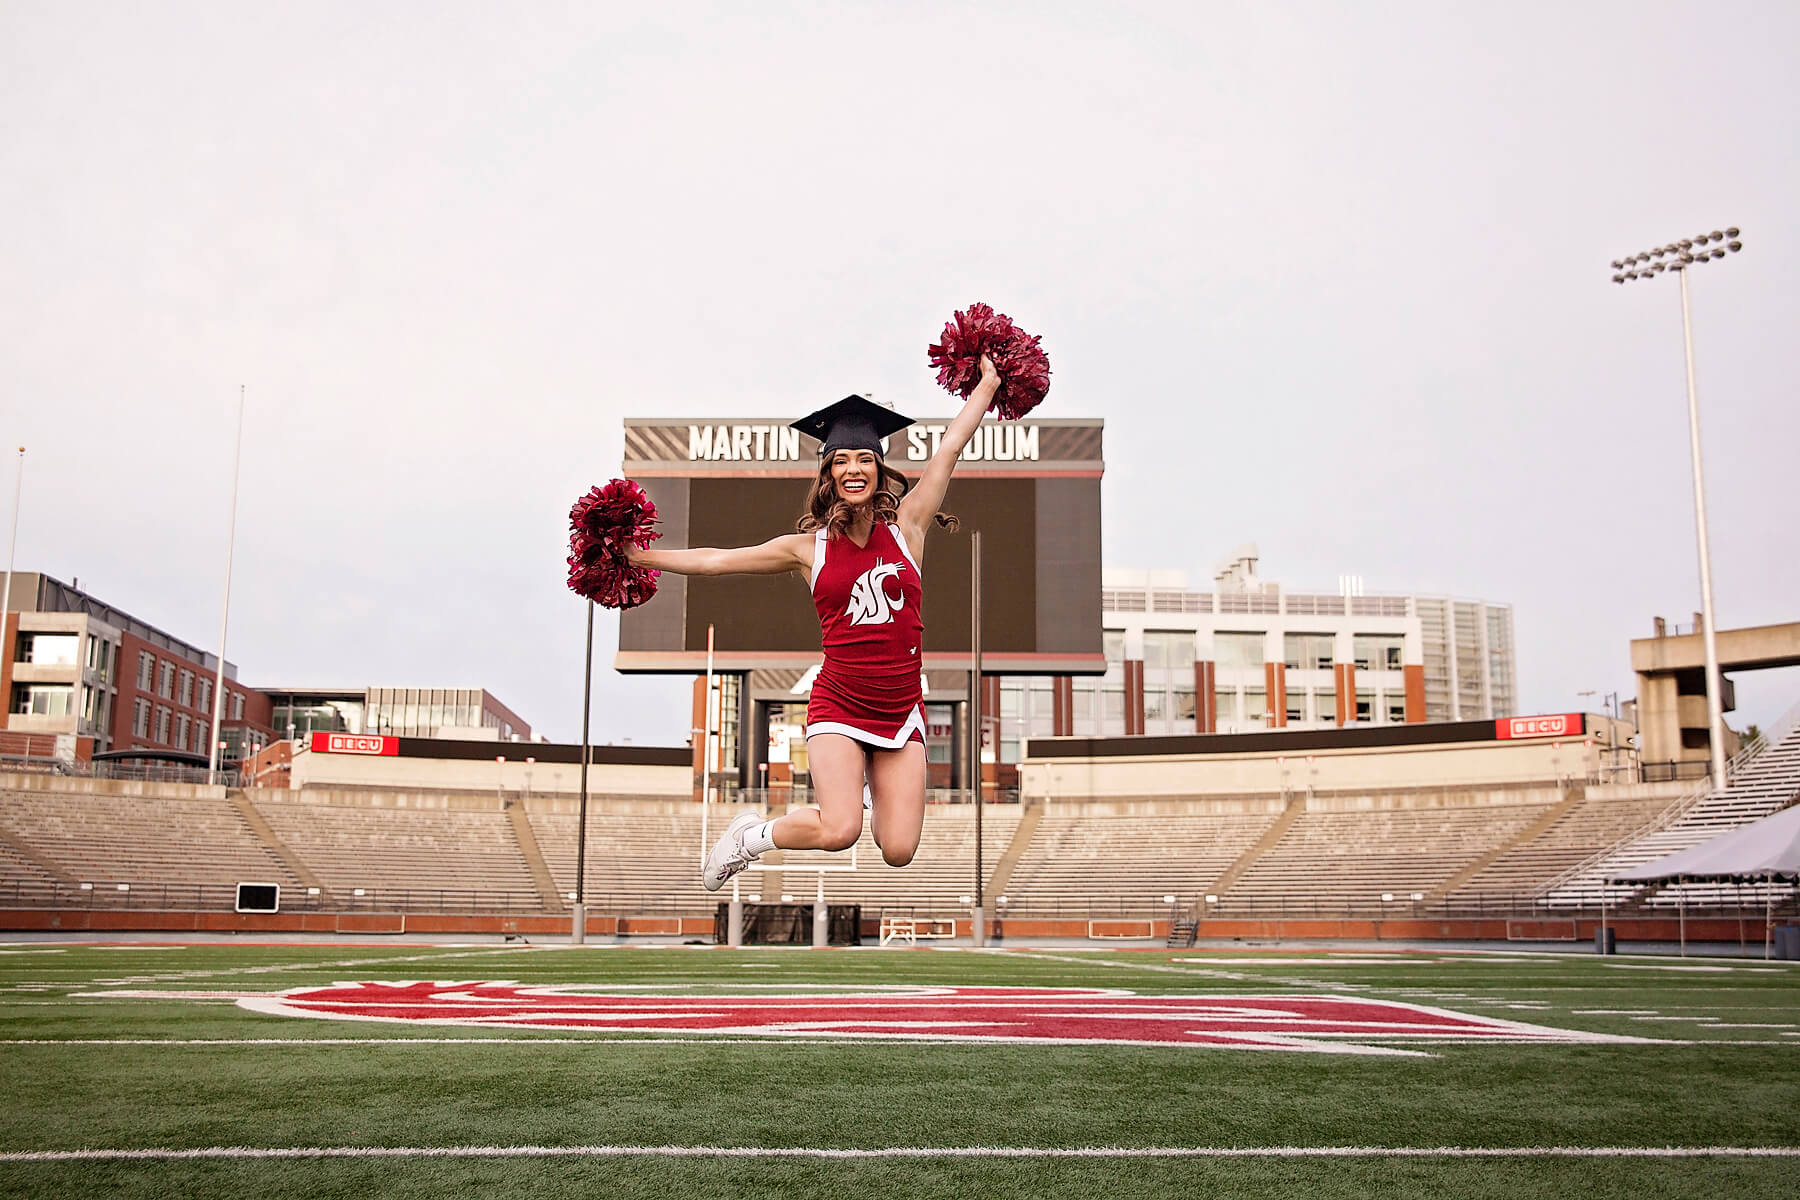
Steps.
- Position yourself 25-75% away from the end zone. Our goal in camera is to fit the subject, some ground and the top of the end zone scene into the picture.
- Once positioned, have the photographer lay down on the ground to shoot up towards subject. This will make the jump look epically high.
- After that, have the photographer count down 3 – 2 – 1 to help time the jump with the camera click.
- Anyway of jumping is great for these photos. Try lifting legs while jumping, throwing a hand or cap in the air. Be as crazy as you want and these will be great shots.
-
Walk Away
This pose is best done in a location where the ground slopes down and away from the camera.

Steps.
- Point your toes away from the camera and walk away.
- While walking, use the fist in the air pose (5) or the glance back pose (2).
-
Walk Towards


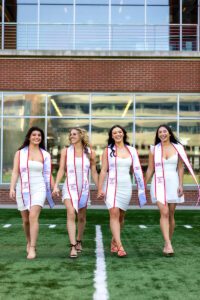
Steps.
- Make sure your toes are pointed forward and walk like a model so slow it feels awkward.
- While walking, make sure to cross ankles with each step.
- You can look at the camera or off into the distance but try not to look at your feet or the ground in front of you.
- One variation is to pause halfway through your walk, look into the distance and pretend to tuck your hair behind your ear.
-
Cap Toss
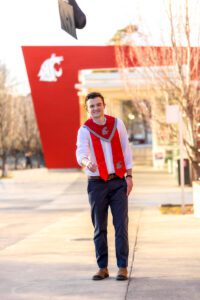
Steps.
- Hold your cap at the corner and bring that arm down to your waist.
- After that, use some force to toss the cap upwards.
- Feel free to add a little leg kick to make your photos more interesting.
- Make sure to keep your arm in the air until the cap hits the ground.
- You can do this shot two ways by looking at the camera the entire time or by following the cap with your eyes.
-
Cross – Legged Sit

Steps.
- Find a seat, low sign or partial wall to sit down and point your knees out to one side.
- While seated, cross your legs at your thighs or at your ankles.
- After that, put one hand on your knee and the other behind you at a comfortable distance.
- For this shot, make sure that both parts of your stole are visible or check the positioning of the yoke depending on what sort of graduation regalia your school uses.
-
Stole Stretch
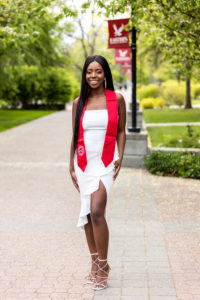
Steps.
- Wear your stole normally and hold the bottom of the stole with one in each hand.
- Once that is done, lift one side of your stole up into the air and create a full line with the other arm.
- The goal will be to create a diagonal line.
- Check to make sure that the front of your stole is visible.
-
Flutter Stole
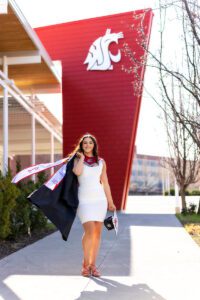
Steps.
- Face 90 degrees away from the camera and look back towards the camera with your head only.
- After that, hold your stole from the center using the hand furthest from the camera and raise the stole high into the air.
- While raising your arm, rotate your hand back and forth to give the stole a flutter effect.
-
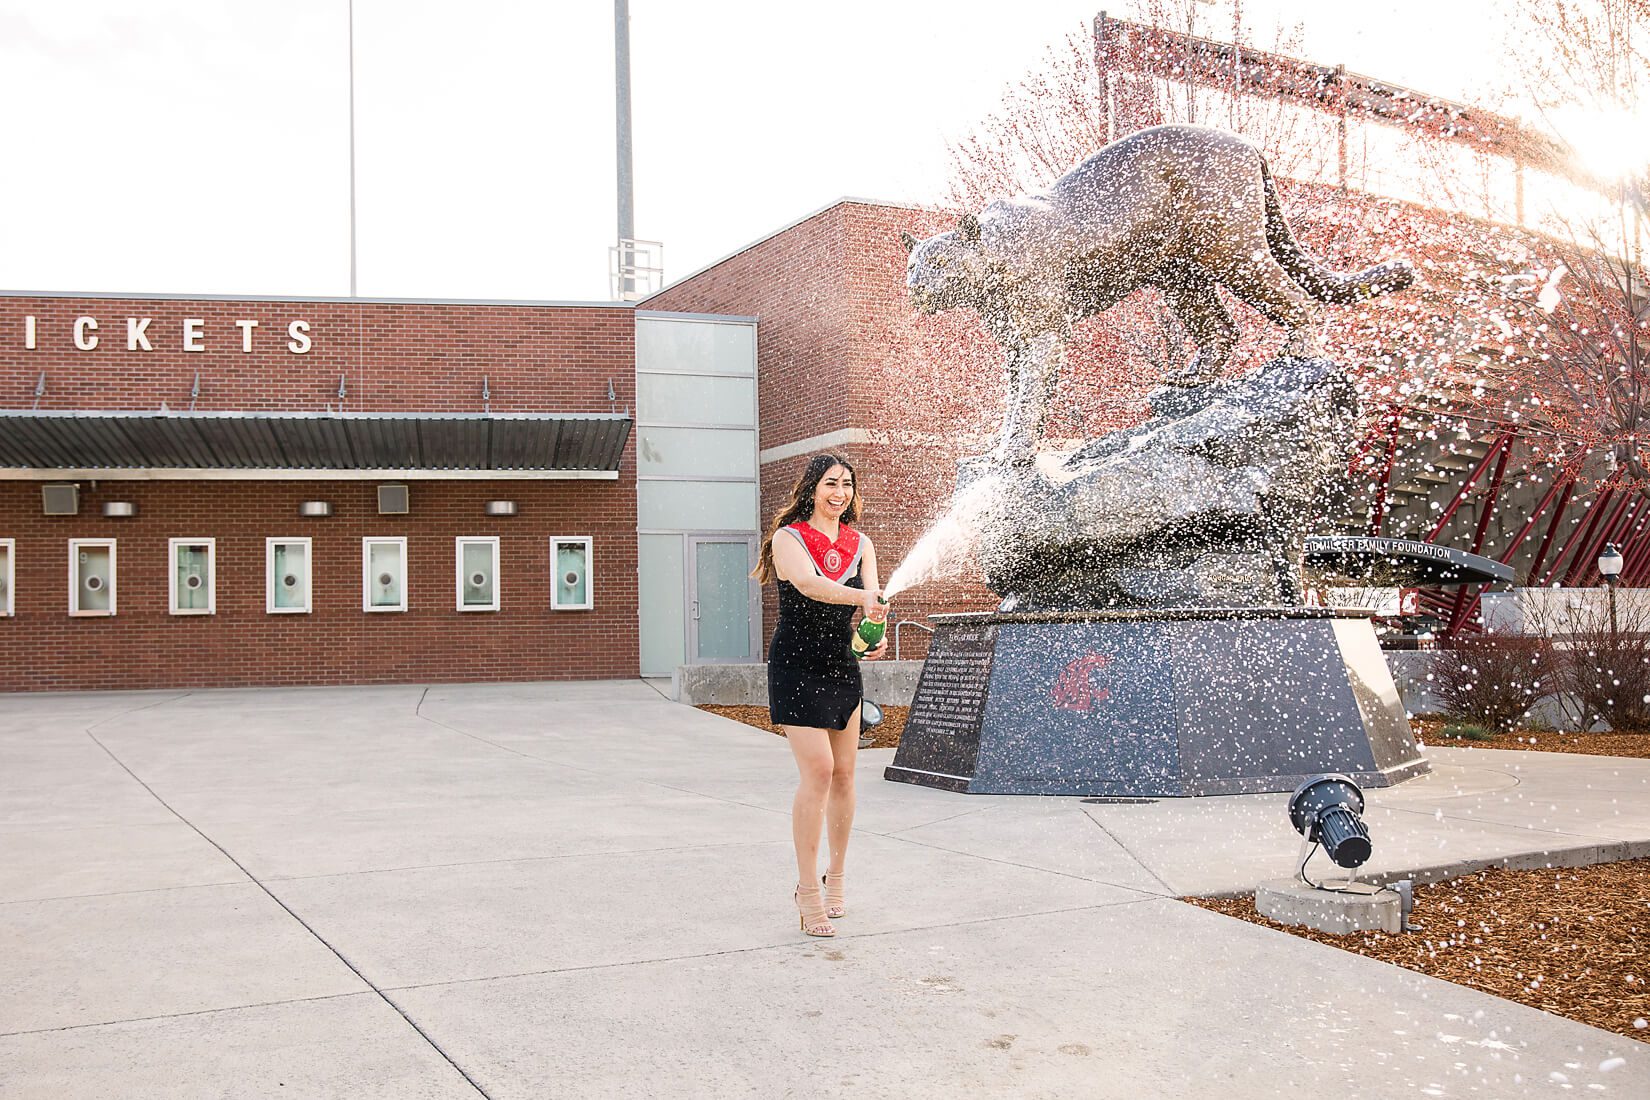
Popping Champagne
Champagne popping looks great in photos but requires a more in depth description so head on over to this article about champagne popping.
Which of these 16 poses for graduation pictures will you be trying out?
Are you graduating from Washington State University, Eastern Washington University, Gonzaga, Whitworth or a high school senior within Spokane County? Would you rather I remember these 16 poses for graduation pictures for you? Then I would love to be your WSU, GONZAGA, EWU or WHITWORTH graduation Photographer!
Make sure to check out these other helpful resources on taking graduation pictures.
- What to Wear for Your College Graduation Pictures
- 20 Places for Senior Pictures at Washington State University
- 20 Places for Senior Pictures at Eastern Washington University